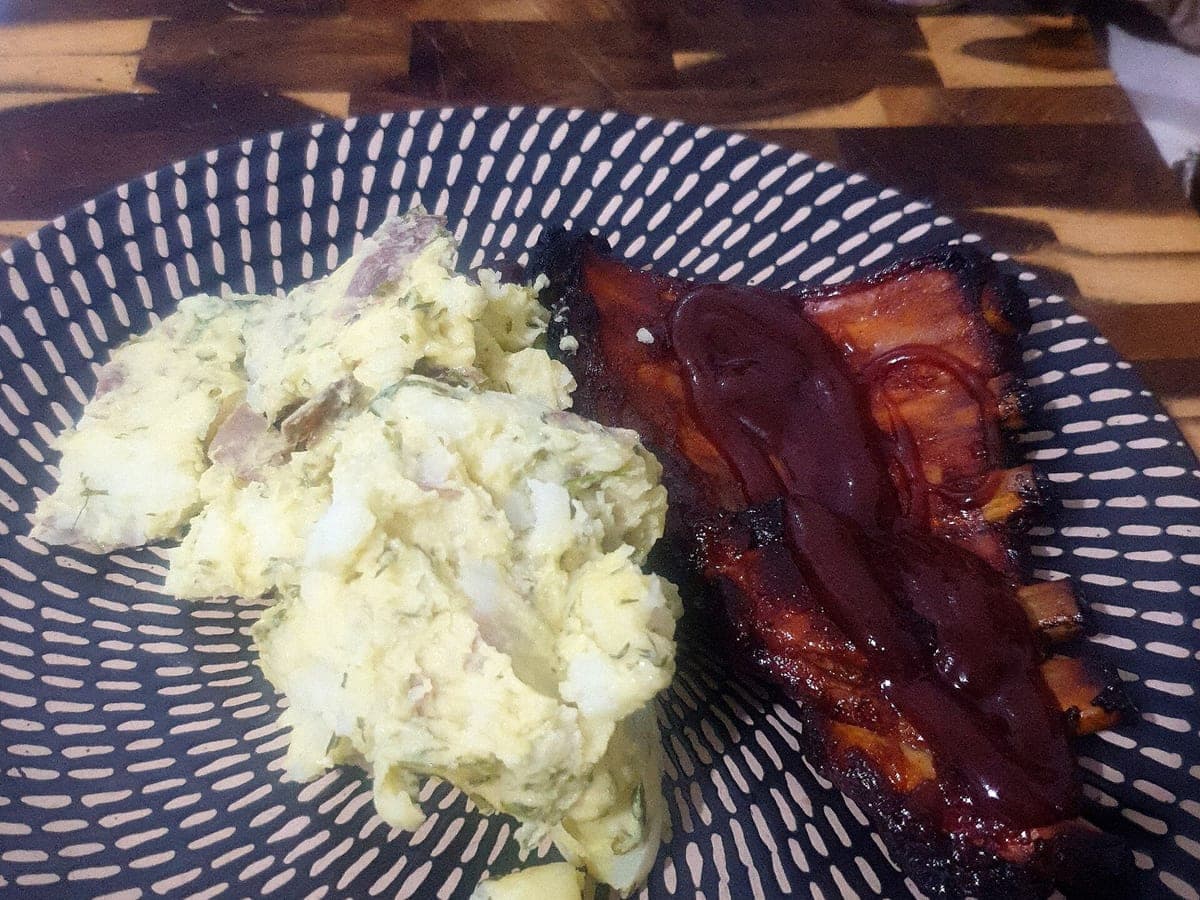
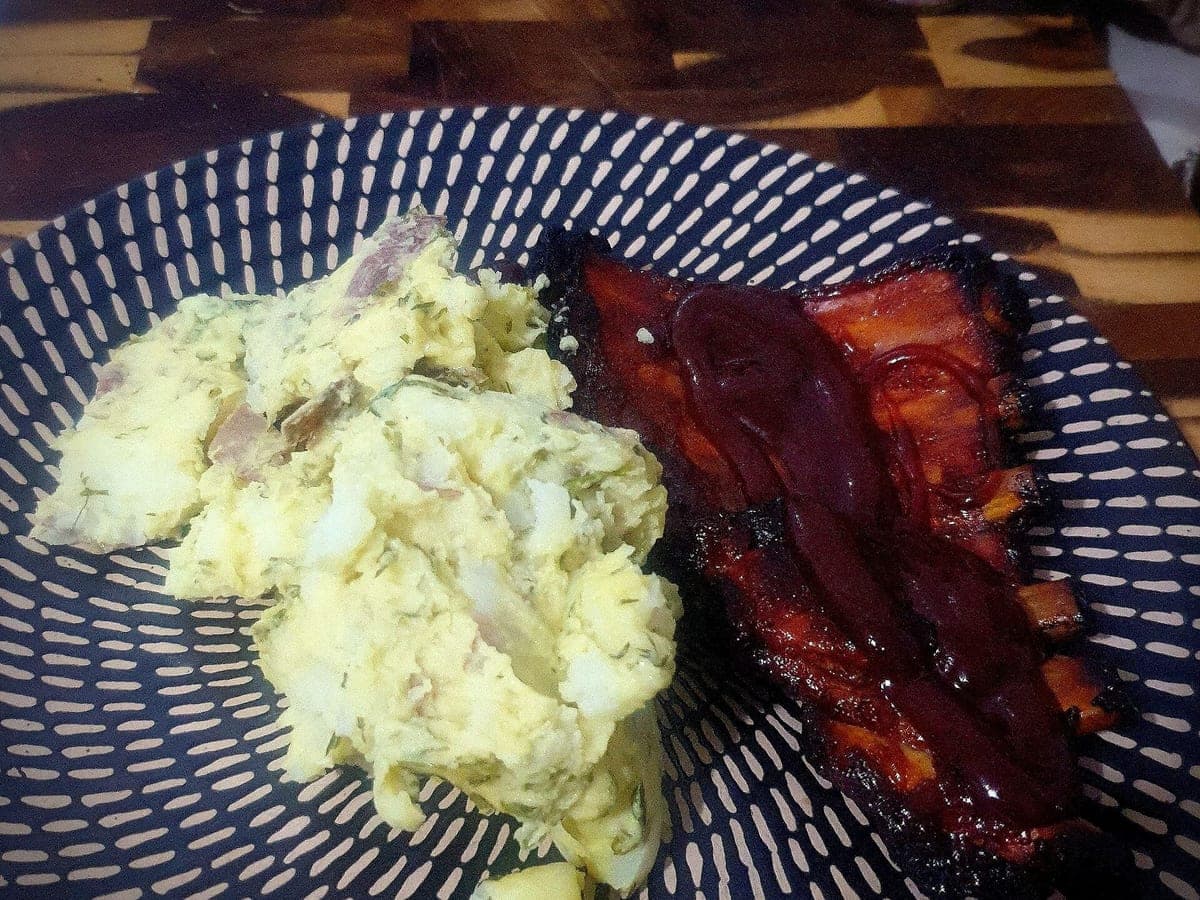
BBQ ribs & potato salad
Before: Galaxy S9, unedited · After: Dark & Moody look
Photo: David Jackmanson from Melbourne, Australia, Australia · CC BY 2.0
Look: RESTAURANT TABLE ·
3 free · no sign-up · sized for DoorDash, Uber Eats & Grubhub
JPG, PNG, WebP or HEIC · up to 10 MB · we improve the photo, not the food
Before: Galaxy S9, unedited · After: Dark & Moody look
Photo: David Jackmanson from Melbourne, Australia, Australia · CC BY 2.0
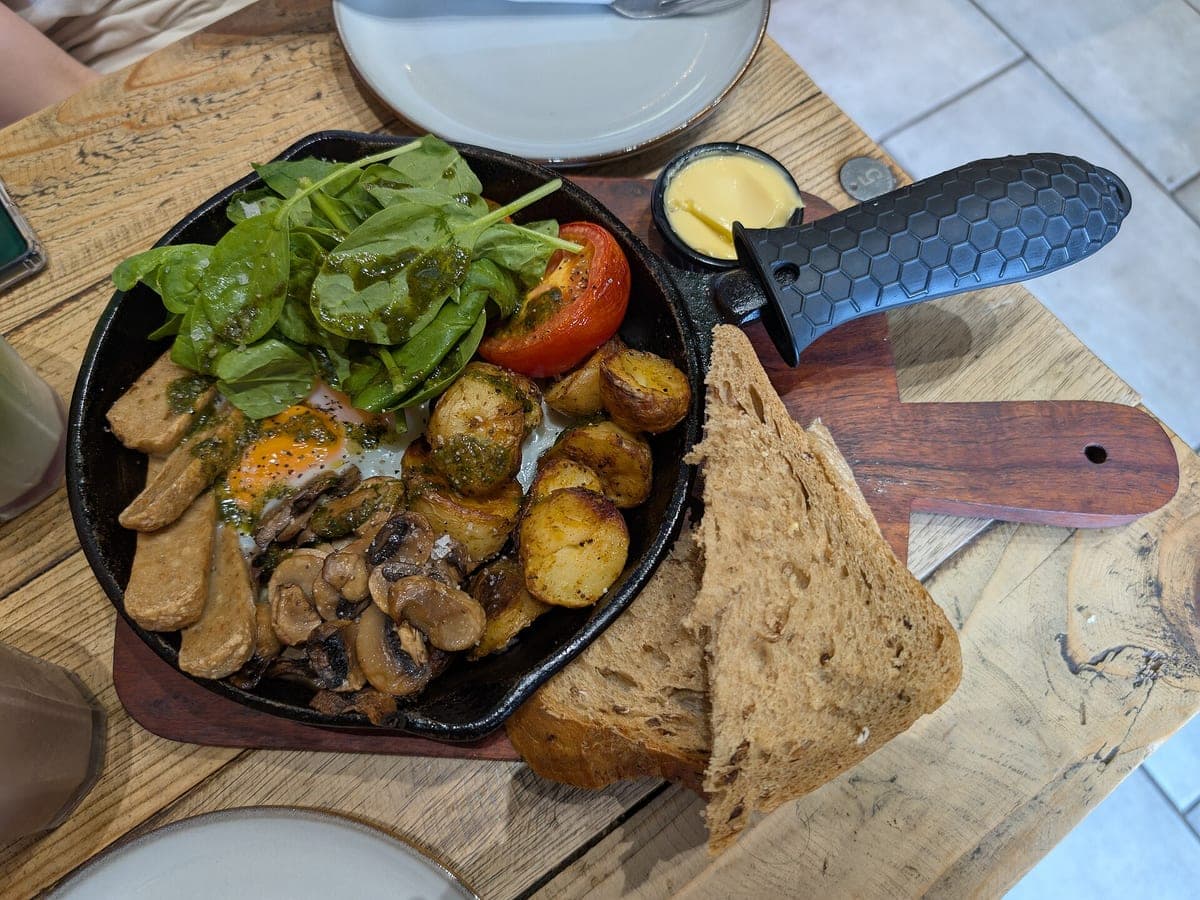
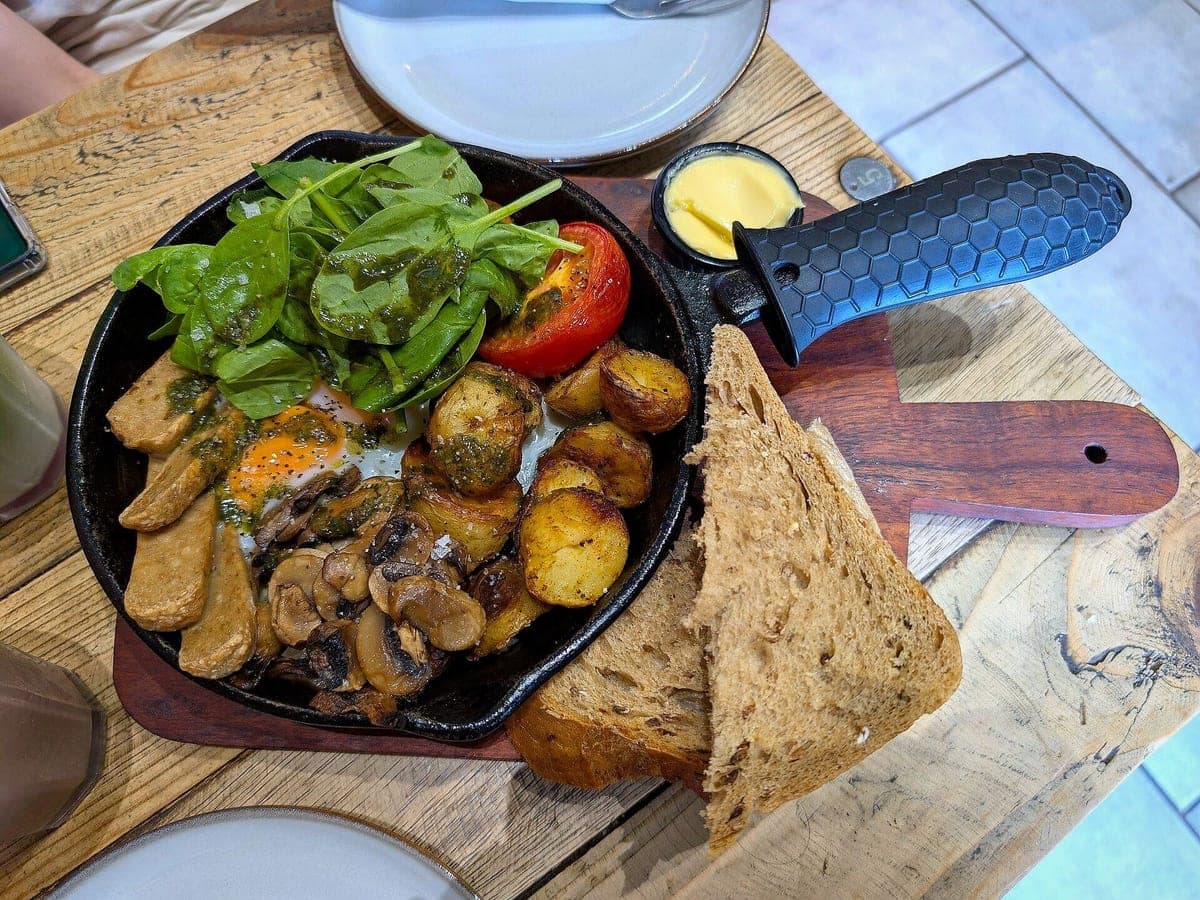
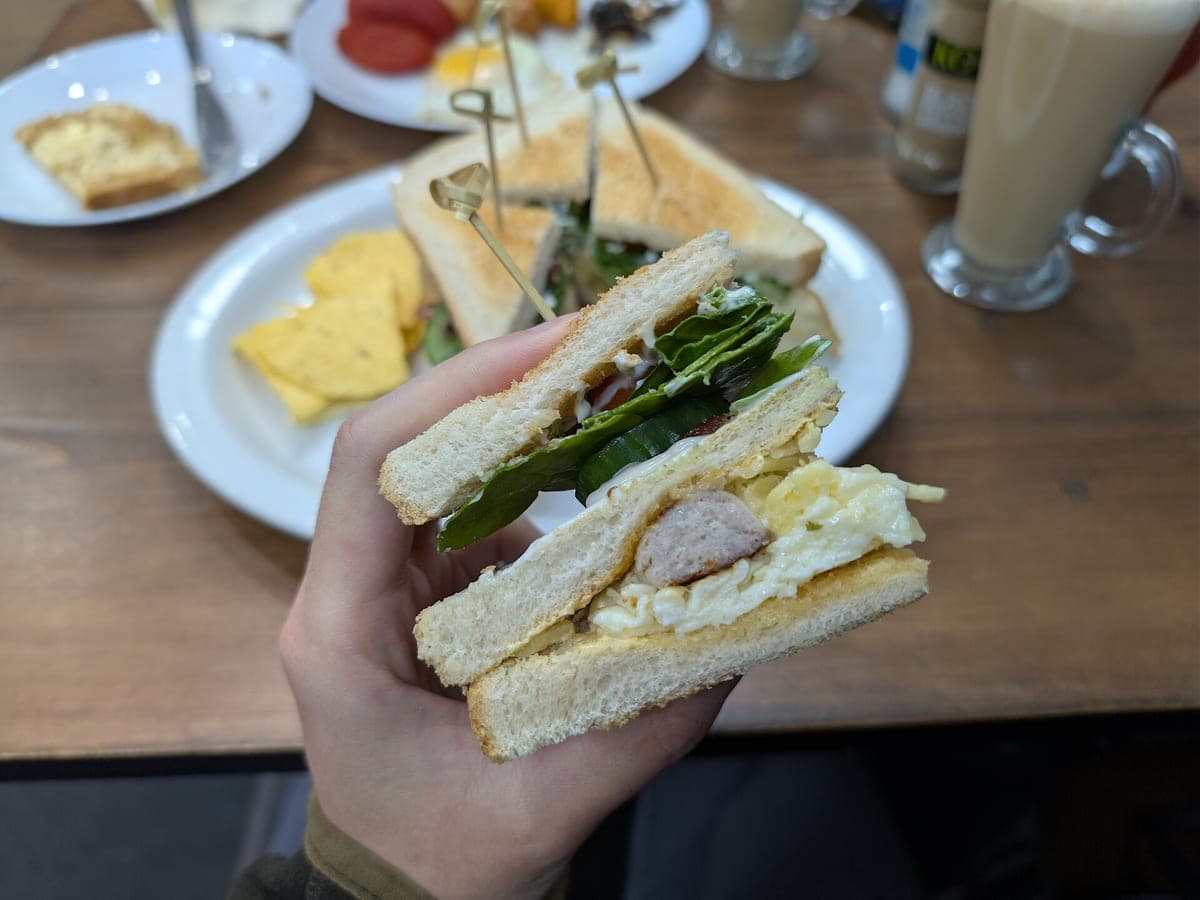
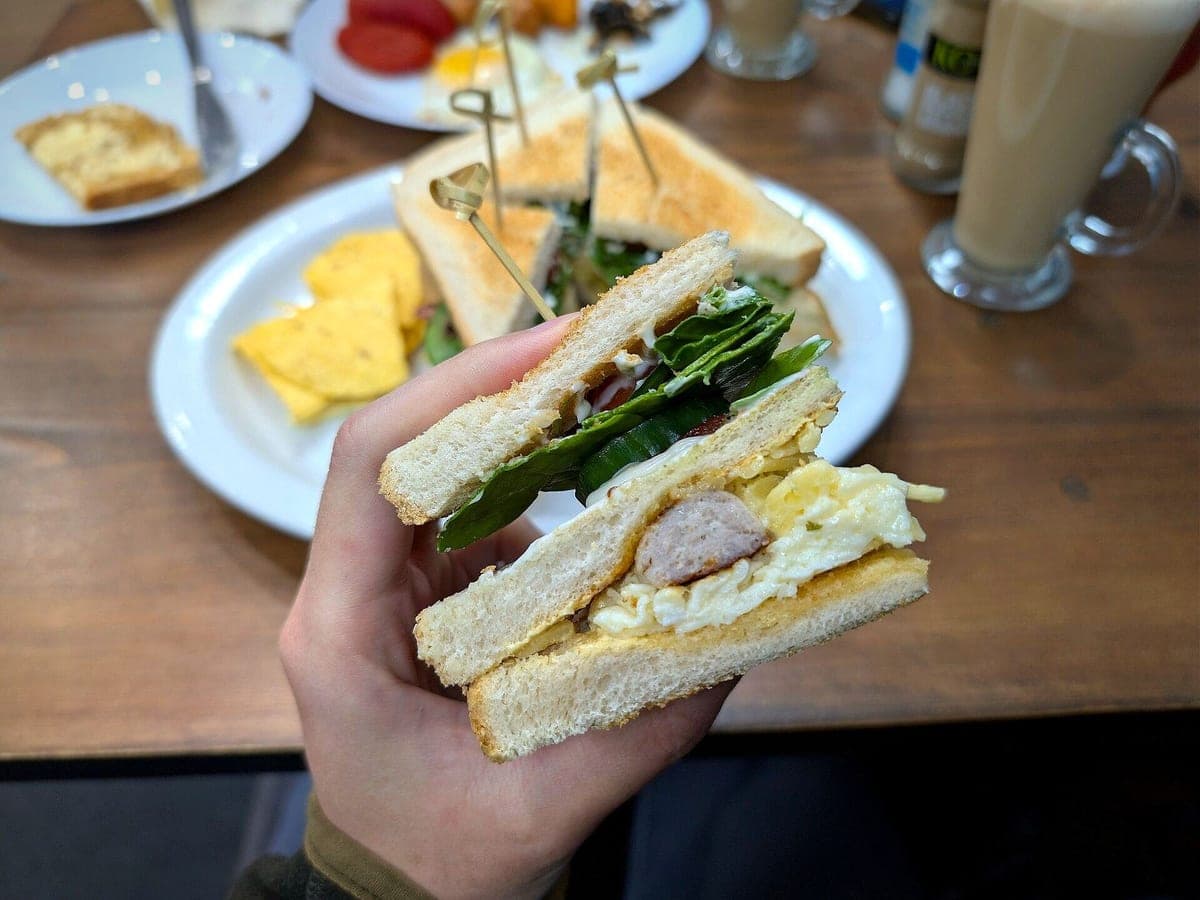
Before: Pixel 8 Pro, unedited · After: Restaurant Table look
Photo: Andy Li · CC0
Good food photography is mostly three things: soft light from the side, the right angle for the dish, and a plate that looks like it just left the pass. You don’t need a camera, a light kit or a stylist for any of them. A recent phone and a window will get you 80% of the way there.
This guide covers what working restaurants actually do when there’s no photographer around. The tool at the top of the page covers the last 20%: it takes your real photo and fixes the light, background and crop, without changing a single thing on the plate.
Put the plate on a table a few feet from a window, with the light coming from the side or slightly behind the dish. Side light shows texture: the crust on a steak, the layers in a croissant, the glaze on wings. Turn off the overhead lights if you can, because mixing warm bulbs with daylight gives you the orange-and-blue mess most kitchen photos have.
Never use the flash. It flattens everything and puts a shiny hot spot on sauces. If the window light is harsh (direct sun on the table), hang a white napkin or a sheet of parchment in the window to soften it. Overcast days are a gift for food photography.
Flat food that’s interesting from above (pizza, bowls, salads, platters, tacos lined up) looks best straight overhead. Most plated entrées look best at about 45°, roughly the angle of someone sitting down to eat. Tall food (burgers, layer cakes, stacked sandwiches, drinks) needs eye level, or you lose the height that makes it worth ordering.
Whatever angle you choose, hold the phone level and step back a little. It’s easy to crop in later and impossible to add plate that isn’t in the frame.
Food stylists for ad campaigns use glue, motor oil and mashed potatoes. You can’t, and you shouldn’t: on a menu or a delivery app the photo is a promise. Plate the real portion the way it goes out, then fix the small stuff: wipe drips off the rim with a paper towel, add a fresh sprig of the garnish you actually use, and brush a little oil on proteins that have gone matte.
Speed matters more than tricks. Greens wilt, cheese sets and fries go limp within a few minutes, so have the spot and the phone ready before the plate leaves the line.
Wipe the lens first; kitchen grease is the number-one cause of hazy photos. Use the main 1× lens or the 2× option rather than pinch-zooming, which throws away detail. Tap the food to focus, then drag the exposure slider down a touch so whites and sauces don’t blow out. Turn on the grid to keep the horizon and the plate rim straight.
Portrait mode can look nice, but it often blurs the edges of the plate in odd places. Shoot one with and one without and keep the better one. HEIC files from iPhones upload here as they are.
Fixing white balance, brightness, a messy background and a crooked crop is normal photo editing. Adding shrimp, making the portion bigger or swapping in a nicer-looking burger is not, and delivery apps and customers both treat it that way. That’s the line our enhancer is built on: it changes light, background and framing, and every result keeps the same food, the same portion and the same plate.
A quick reference for the dishes most menus have. Use the look in the last column to finish the shot in the tool above.
| Dish | Angle | Why | Look to try |
|---|---|---|---|
| Pizza, flatbreads | Overhead | Shows every topping and the full round | Top-Down |
| Bowls, poke, salads | Overhead or 45° | Overhead for color, 45° if the bowl is deep | Top-Down |
| Burgers, sandwiches | Eye level | Height and layers are the selling point | Delivery Ready |
| Plated entrées | 45° | Matches how a diner sees the plate | Restaurant Table |
| Steaks, BBQ | 45°, low | Crust and smoke ring catch side light | Dark & Moody |
| Pastries, brunch | 45° or overhead | Texture for pastries, layout for brunch plates | Bright & Airy |
| Drinks | Eye level | Shows the fill line, garnish and glass | Dark & Moody or Bright & Airy |
No. Any phone from the last few years is enough for menus, delivery apps and social. Light and angle matter far more than the camera.
Whenever your window gets bright but indirect light, usually mid-morning or mid-afternoon. Avoid shooting at night under kitchen lights if you can; if you can’t, the enhancer corrects most color casts.
For a brand campaign or a new restaurant opening, a pro is worth it. For a 40-item delivery menu that changes every season, phone photos of the real dishes, cleaned up here, are faster and cost a fraction.
Photos never expire. Every photo includes all 6 sizes. Start with 3 free.
Taster
10photos
$15
$1.50/photo
Good for: trying it on your best sellers
Menu Pack
40photos
$39
$0.98/photo
Good for: a full delivery menu
Multi-Menu
120photos
$99
$0.83/photo
Good for: several brands or locations